I love baking sourdough bread at home. The smell, the texture, and the feeling of success are priceless. But, baking sourdough can seem scary, especially getting the shape and crust right.
Loaf pans make sourdough baking easier. In this guide, I’ll show you how to make delicious sourdough bread at home. You’ll need just a loaf pan and some basic tools. Get ready to make artisanal bread that’s as good as bakery bread, all from your oven.
Key Takeaways
- Discover the benefits of baking sourdough in a loaf pan compared to free-form baking
- Learn about the different types of loaf pans and how to choose the right size for your needs
- Understand the essential tools and equipment required for successful sourdough baking in a loaf pan
- Explore techniques for maintaining a healthy sourdough starter and achieving the perfect dough consistency
- Dive into a step-by-step guide for shaping, proofing, and baking your sourdough loaves
Why Choose a Loaf Pan for Sourdough Baking
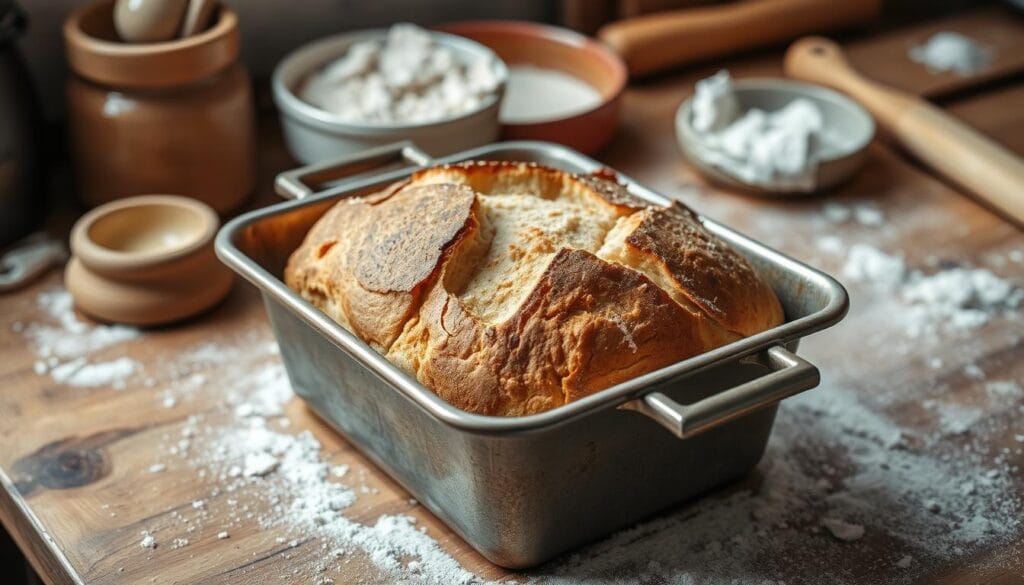
Baking sourdough loaves can be a hit or miss without the right tools. A good sourdough loaf pan makes all the difference. It helps you bake rustic loaves that look and taste amazing.
Benefits of Using a Loaf Pan vs Free-Form Baking
Using a loaf tin ensures your sourdough loaves are perfectly shaped. Free-form loaves can be uneven, but a pan keeps them consistent. This makes it more convenient to slice and serve.
A loaf pan also helps your sourdough keep its shape. This leads to a better texture and crust. Your loaves will be more open and have a lovely crust.
Types of Loaf Pans for Sourdough
- Standard Bread Loaf Pans: These versatile pans are a popular choice for sourdough bakers, offering a classic rectangular shape.
- Pullman Loaf Pans: Featuring straight sides and a lid, Pullman pans are perfect for creating clean-edged, square-shaped sourdough loaves.
- Ceramic Loaf Dishes: Offering a more rustic aesthetic, ceramic loaf dishes can impart a unique texture and flavor to your sourdough creations.
Size Considerations for Perfect Loaves
Choosing the right sourdough loaf pan size is key. A pan that’s too small can make your loaf dense. Too big, and it might spread out too much. Look for a pan that lets your dough rise just right.
Essential Tools and Equipment for Sourdough in Loaf Pan
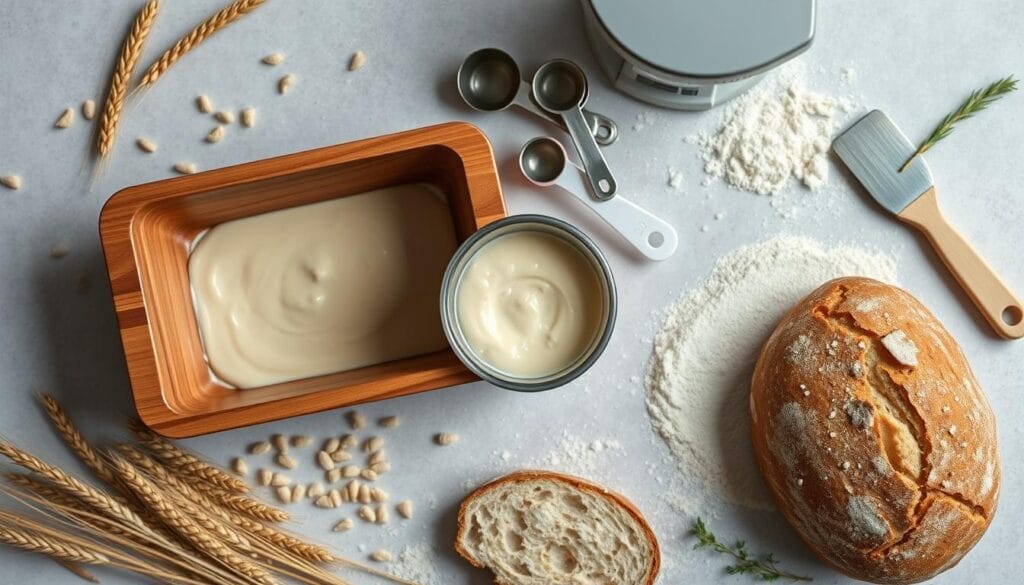
Baking bread at home is rewarding but needs the right tools. For sourdough in a loaf pan, the right setup is key. It helps get the perfect rise, texture, and crust. Let’s look at the essential items for bread baking with a loaf pan.
You’ll first need a good mixing bowl for kneading and shaping. Choose a bowl from durable materials like stainless steel or ceramic. These are easy to clean and won’t hold smells. A bench scraper is also crucial for bread baking. It helps you handle the dough gently and keep its shape.
- Mixing bowl
- Bench scraper
- Loaf pan(s)
- Proofing basket or cloth
- Scoring knife or lame
- Oven thermometer
- Spray bottle for water
Next, you need the right loaf pan(s) for your baking. Choose pans from heavy-duty materials like cast iron or stoneware. They help with even baking. Also, have a proofing basket or cloth ready to support your dough during the final rise.
A scoring knife or lame is key for the bread’s surface patterns. An oven thermometer ensures your oven is at the right temperature. A spray bottle helps create steam for a crisp crust.
With these tools, you’re ready to bake amazing sourdough loaves at home.
Understanding Sourdough Starter Management
Learning to bake sourdough bread starts with a healthy starter. This living culture is key to a great loaf. We’ll cover how to keep your starter thriving, including feeding and knowing when it’s ready.
Maintaining Starter Health
A healthy sourdough starter is essential for baking. To keep it in top shape, feed it regularly with quality flour and water. Store it in a clean, cool place. This care will make your starter strong and active, perfect for leavening your dough.
Optimal Feeding Schedule
- Feed your starter at least once a day, or even twice a day for the most active starters.
- Use a feeding ratio of 1 part starter to 1 part flour and 1 part water by weight.
- Adjust the feeding schedule based on your starter’s activity level and the temperature of your kitchen.
Signs of Starter Readiness
Knowing when your starter is ready is crucial for great bread. Look for these signs:
- It grows to double its size within 4-8 hours after feeding.
- Bubbly and light in texture
- Has a pleasantly sour aroma, similar to freshly baked bread
By understanding sourdough starter management, you’ll make delicious sourdough bread and other baked goods.
Mastering the Perfect Dough Consistency
Getting the dough just right is key for baking sourdough bread in a loaf pan. The right mix of water and kneading can make your sourdough sandwich loaf recipe stand out.
Start with a dough that’s 70-80% hydrated. This balance helps the dough rise well and gives it a soft yet chewy texture. Mix your sourdough starter, water, and flour until just combined. After that, allow the dough to rest for 30 minutes to an hour.
- Next, knead the dough for 5-10 minutes. This helps build the gluten structure. The dough should be elastic and thin without tearing.
- Check the dough’s look and feel. It should be smooth, slightly sticky, and shiny. This shows it’s perfectly hydrated.
- If the dough is too dry, add a bit of water and knead again. If the dough is too wet, gradually add flour until it reaches the right consistency.
Mastering dough consistency is crucial for baking delicious artisanal bread in your loaf pan. Trust your senses and adjust as needed to get the perfect dough for your sourdough masterpiece.
Step-by-Step Guide to Sourdough in Loaf Pan
Baking soft, tender sourdough sandwich bread in a loaf pan is a game-changer. It may seem daunting, but with the right baking methods, you can get great results. Here’s a step-by-step guide to mastering sourdough in a loaf pan.
Mixing and Autolyse
Start by mixing your sourdough starter, water, and flour in a big bowl. Mix until you get a shaggy dough. Next, let it rest for 30 minutes to an hour. This time lets the flour hydrate and builds gluten structure.
Folding Techniques
After resting, it’s time to build your dough’s strength. Do a series of folds, stretching and folding the dough every 30 minutes for a few hours. This develops the gluten and makes the dough strong and stretchy.
Shaping for Loaf Pans
When your dough is ready, shape it for the loaf pan. Turn it out onto a floured surface and shape into a tight log. Then, put it in a greased loaf pan, making sure it’s even.
Now you’re ready to bake perfect sourdough sandwich bread in a loaf pan. Monitor your dough and make adjustments as necessary. Enjoy the delicious homemade sourdough in loaf pan!
Proofing Times and Temperature Control
To get the perfect rise and flavor in your sourdough loaf pan baking, focus on proofing times and temperature. These are key to the fermentation process. They affect the texture, crumb, and quality of your bread baking.
Getting the most out of your sourdough starter needs proper proofing. The temperature, dough hydration, and starter activity all matter. Here’s a basic guide:
- Initial bulk fermentation: 4-6 hours at 75-80°F (24-27°C)
- Final proof in the loaf pan: 2-3 hours at 75-80°F (24-27°C)
Watch the dough closely during proofing. Look for volume increase and a dome-like shape. Overproofing can make the bread dense, while underproofing makes it tight. Finding the right balance is crucial for perfect artisanal bread.
| Proofing Stage | Temperature Range | Duration |
|---|---|---|
| Bulk Fermentation | 75-80°F (24-27°C) | 4-6 hours |
| Final Proof in Loaf Pan | 75-80°F (24-27°C) | 2-3 hours |
Mastering proofing and temperature control will help you make exceptional sourdough loaves in your loaf pan. With practice and attention, you’ll get the perfect rise and rich flavors. This is what makes artisanal bread special.
Scoring and Steam Methods for Pan Loaves
Starting your sourdough baking journey means learning to score and create steam in your oven. These steps are key to making perfect rustic loaves. They improve the look of your bread scoring and help create that special baking methods crust.
Decorative Scoring Patterns
Scoring your sourdough loaves is more than a step. It lets the dough expand and show off beautiful patterns. Try different scoring styles, like:
- Simple parallel lines for a classic look
- Intersecting cuts to form a grid or diamond pattern
- Curved or circular designs for a stunning look
- Freeform slashes and snips for a rustic, artisanal look
The depth and angle of your scoring can change your loaves’ shape and rise. So, experiment to find the style you like best for your bread scoring.
Creating Steam in Home Ovens
To get a perfect, golden-brown crust, you need the right steam during baking. Home ovens can’t have steam injectors like pros, but you can still get great results. Here’s how:
- Put a cast-iron skillet or metal dish on the bottom rack and add hot water to make steam.
- Just before baking, spray your loaves with water, or mist the oven walls with a spray bottle.
- Use a Dutch oven or large bowl to cover your loaf pan for 15-20 minutes to keep the steam in.
Try out these methods to see what works best for your oven and the crust you want.
Troubleshooting Common Pan Loaf Issues
Baking sourdough bread in a loaf tin can be rewarding but comes with challenges. As an experienced bread baker, you might face common issues with sourdough sandwich bread and loaf tin. Don’t worry, we’re here to help you solve these problems and get consistent, tasty results.
Uneven Browning
If your sourdough sandwich bread has different browns on top and sides, try changing the oven temperature or baking time. It’s important to ensure even heat for a beautiful crust.
Underproofed Loaves
An underproofed loaf feels dense and gummy, and might collapse. To prevent this, focus on your bread baking schedule. Make sure your sourdough starter is ready when you start mixing the dough.
Overproofed Loaves
An overproofed loaf is flat and dense, with a misshapen loaf tin. Watch the proofing times closely and adjust the temperature if needed to slow down fermentation.
| Issue | Possible Cause | Solution |
|---|---|---|
| Uneven Browning | Inconsistent oven temperature or baking time | Adjust oven temperature or baking time to ensure even heat distribution |
| Underproofed Loaves | Insufficient fermentation time or weak sourdough starter | Ensure your sourdough starter is at its peak and adjust proofing time accordingly |
| Overproofed Loaves | Excessive fermentation time or high-temperature proofing | Reduce proofing time or lower the proofing temperature |
Every sourdough sandwich bread journey is unique, and troubleshooting is part of it. With patience, experimentation, and the right knowledge, you’ll soon be baking delicious loaf tin sourdough consistently.
“The key to perfect pan loaves is knowing your dough and adjusting the proofing process as needed.”
Storage and Shelf Life Tips
Baking sourdough bread at home is rewarding. But keeping it fresh and flavorful is key. Follow these tips to keep your sourdough sandwich loaf or soft sourdough sandwich bread fresh longer.
Proper Cooling Methods
Let your sourdough loaf cool completely before storing. This prevents a soggy crust. Place it on a wire rack and cool for 1-2 hours before handling.
Best Storage Practices
Store your sourdough bread in different ways to keep it fresh:
- Paper bag or linen cloth: Wrapping in a paper bag or linen cloth keeps the crust right. It also stops the bread from drying out.
- Airtight container: For longer storage, use a plastic bag or bread box. This keeps moisture in and prevents staleness.
- Freezer: Wrap in plastic or foil and freeze for up to 3 months. Thaw at room temperature before eating.
These storage tips help you enjoy your sourdough for up to 5 days at room temperature. Or, store it in the freezer for longer, ensuring every bite is delicious.
Conclusion
In this guide, you’ve learned how to bake sourdough bread in a loaf pan. You now know the benefits and how to make perfect sourdough in a loaf pan. You can make delicious, artisanal bread in your kitchen.
Baking sourdough sandwich bread in a loaf pan has many perks. It gives you a consistent shape, easy slices, and a golden crust. You’ve learned how to manage your starter, mix the dough, and bake it perfectly.
Now, you can try different flours, shapes, and scoring patterns. This lets you make your sourdough in loaf pan creations unique. Enjoy baking artisanal bread and share it with loved ones. You’ve mastered baking sourdough in a loaf pan.
FAQ
What are the benefits of using a loaf pan for sourdough baking?
Using a loaf pan for sourdough baking has many advantages. It helps create a traditional sandwich-shaped loaf. It also ensures even browning and better control over the bread’s shape and size.
What types of loaf pans are best for sourdough?
For sourdough baking, the best loaf pans are made of metal. Pans made of stainless steel or cast iron are ideal. They distribute heat evenly, leading to a crisp, golden crust.
How do I choose the right size loaf pan for my sourdough?
Choose a loaf pan size based on your dough’s volume. The pan should be about 1.5 times the dough’s volume. This ensures the dough rises and expands properly.
What tools and equipment do I need for baking sourdough in a loaf pan?
You’ll need a few tools for sourdough baking in a loaf pan. These include a mixing bowl, bench scraper, proofing basket, and a lame or sharp knife for scoring.
How do I maintain a healthy sourdough starter for baking in a loaf pan?
Regular feeding is essential to maintain a healthy sourdough starter. Use equal parts flour and water. Ensure the dough is kept at the ideal temperature for fermentation. Check its volume and appearance to ensure it’s ready for baking.
How do I achieve the perfect dough consistency for sourdough in a loaf pan?
The dough should be slightly sticky and well-hydrated. It should have a smooth, elastic texture. Proper kneading and adjusting the hydration level are key to the perfect dough.
How do I shape the dough for baking in a loaf pan?
To shape the dough, gently stretch and fold it. This creates a tight, smooth surface. Then, place the dough in the greased loaf pan, seam-side down.
How do I control the proofing time and temperature for sourdough in a loaf pan?
Proofing time for sourdough in a loaf pan is 4-8 hours, depending on the temperature. Keep the dough at 75-85°F for even rise and flavor development.
How do I score and create steam in my home oven for sourdough loaves?
Scoring the dough enhances its appearance. To create steam, place a shallow baking dish filled with water on the bottom rack during baking.
How can I troubleshoot common problems with sourdough baked in a loaf pan?
Issues like under-proofing or uneven browning can be fixed. Adjust the proofing time and temperature. Ensure proper dough shaping and scoring.
How should I store and preserve sourdough bread baked in a loaf pan?
Let the loaf cool thoroughly before placing it in an airtight container. For longer storage, slice and freeze the bread.
perfect
5 stars


